Editing tenants
Note: For information about installing licenses, see Installing a license for an on-premises tenant.
-
Navigate to Administration > Tenant > Licenses.
-
Click the Edit icon (
 ) near the top of the page.
Note: You can also access the dialog by navigating to Administration > Tenant > Properties and selecting the Edit icon near the top of the page.
-
Select the section that you want to edit from the top of the dialog. The options are:
-
Customer Information. See Editing Customer Information.
-
Properties. See Editing Properties.
-
Authorization. See Editing Authorization.
-
Licenses. See Editing Licenses.
-
Configuration. See Editing Configuration.

-
-
After making the edits, select Review from the top of the dialog. A summary of the edits that were made displays. Click Complete to save any changes made, or click Cancel to close the Edit tenant dialog without saving any changes.
-
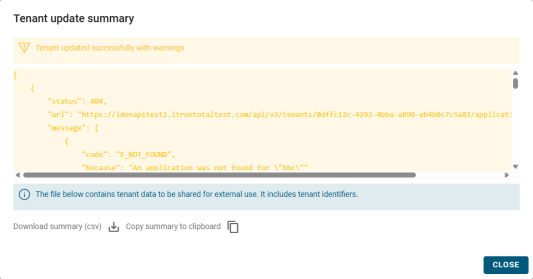
After clicking Complete, the Tenant update summary appears. If your update completed but contains warnings, a yellow warning message appears at the top of the dialog. Click the Copy icon (
 ). The tenant administrator's ID, username, password, and related items are copied to your clipboard. Paste this information immediately to a text file and save it in a secure location. Alternatively, click the adjacent Download icon (
 ) to retrieve and save this information as a .csv file (saved to your browser's default download folder).
-
Click Close to exit the Tenant update summary.