Installing the OHS upgrade
Important! When upgrading OHS, be sure to preserve all user-defined configuration values. Back up the configuration files before uninstalling the older version. After installing the new version, restore the configuration files.
Tip: Existing configuration settings and health checks are backed up until the upgrade installation is successful. You can always check configuration settings and health statuses within the user interface. For more information, see OHS dashboard and OHS health check.
-
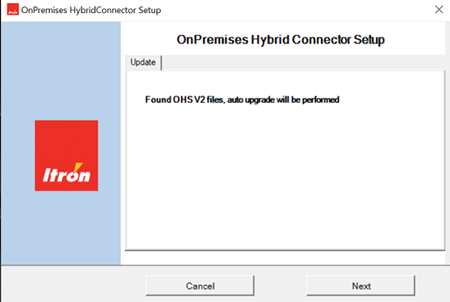
Extract the downloaded zip file, open the installer (executable file), and click Install. The installer detects any existing OHS versions (2.1 or higher) and attempts to perform an upgrade.
Note: If there is no existing OHS installed, a clean installation will be performed. In this case, click Browse and indicate a File Location. Enter the required credentials when prompted.
-
Click Next. The installer performs the following actions:
-
Backs up the existing OHS configuration
-
Deletes existing services
-
Migrates the configuration to the target version
-
-
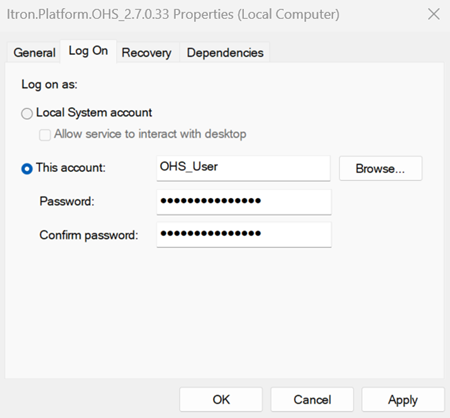
Open the Windows Services app and select Itron.Platform.OHS_2.x.x.x to view the properties dialog. On the Log On tab, re-enter the credentials and click OK.
Note: This is required only if OHS needs to talk to OpenWay head-end systems or if elevated privileges are needed to perform certain actions.
-
Start the OHS service (Itron.Platform.OHS_2.x.x.x).
-
Start the OHS Management service (Itron.Platform.OHS.Management_2.x.x.x).
To confirm the upgrade, refer to Validating successful installation.
Note: After the upgrade is complete, backup files are located in <OHSTempFolder>/Backup. This location is C:\temp\Backup by default, but may differ depending on folder selection during installation.