Installing the Service Mode Server
Use the following procedure to install the Server Mode Server:
-
Locate the Itron.EE.ServiceMode.Server.10.4.x installer on your device.
Tip: This example shows version 10.4.7.45.
-
Select the installer, right-click, select run as administrator, and then click Install. The install wizard appears.
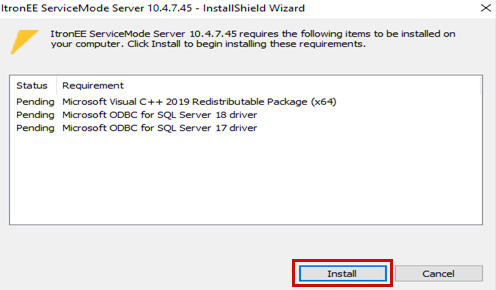
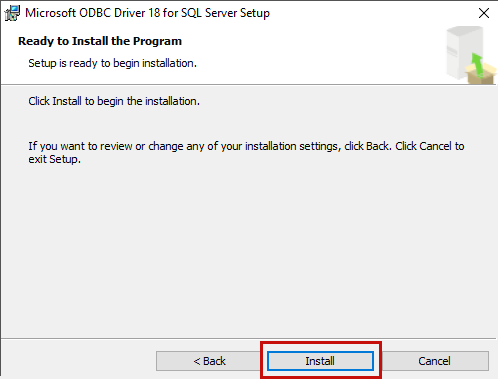
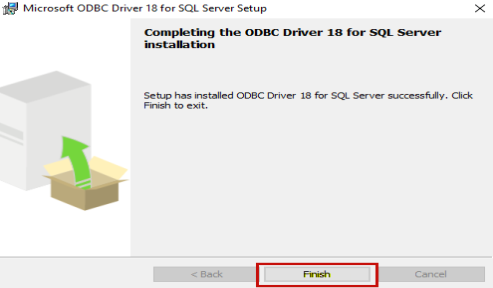
Note: Steps 3 through 8 apply to both ODBC Driver 17 and 18 for SQL Server Setup. This example shows ODBC Driver 18 for SQL Server Setup.
-
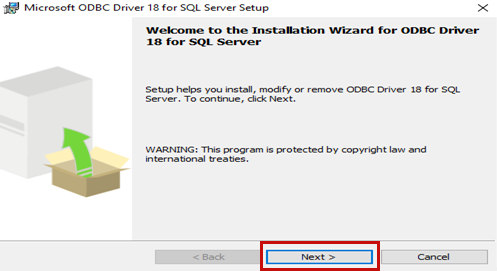
Click Next.
-
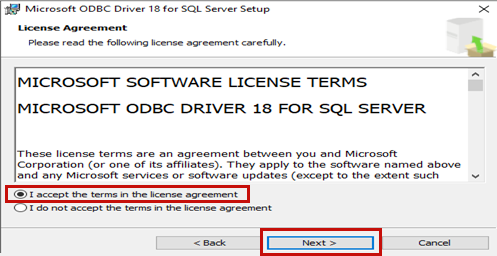
Agree to the terms in the license agreement and click Next.
-
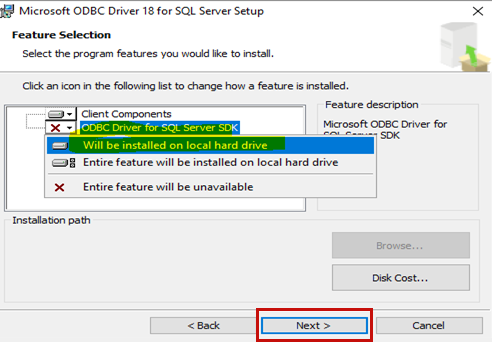
Select ODBC Driver for SQL Server SDK.
-
In the dropdown menu that appears, select Will be installed on local hard drive.
-
Click Next.
-
-
Click Install.
-
Click Install.
-
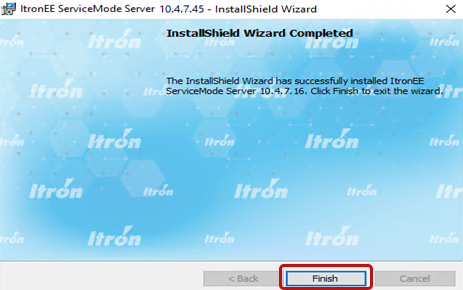
Click Finish.
-
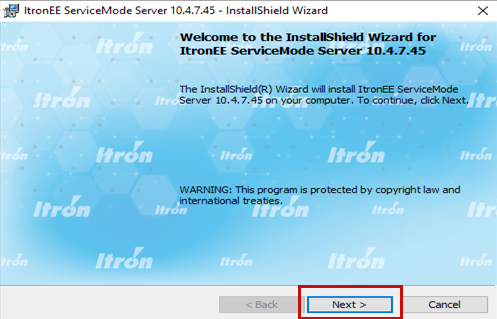
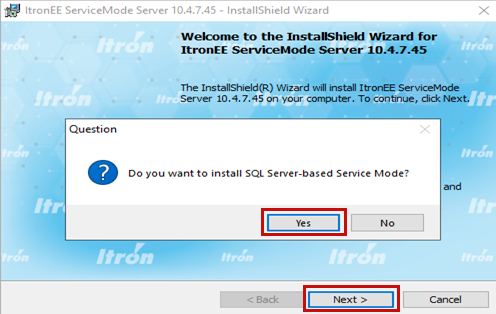
The install wizard appears. Click Next.
-
In the dialog that appears, click Yes, and then click Next.
-
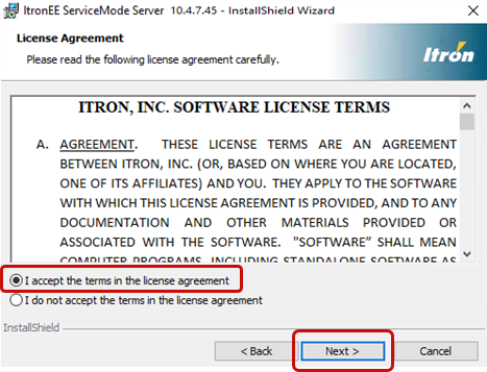
Agree to the terms in the license agreement and click Next.
-
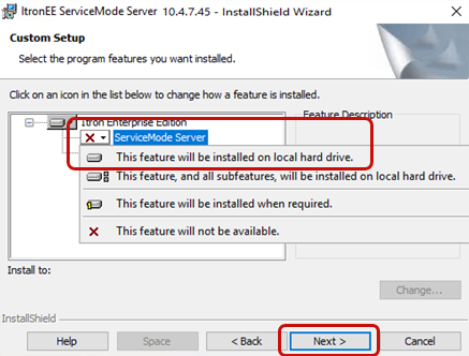
Select Service Mode Server.
-
In the dropdown menu that appears, select This feature will be installed on local hard drive.
-
Click Next.
-
-
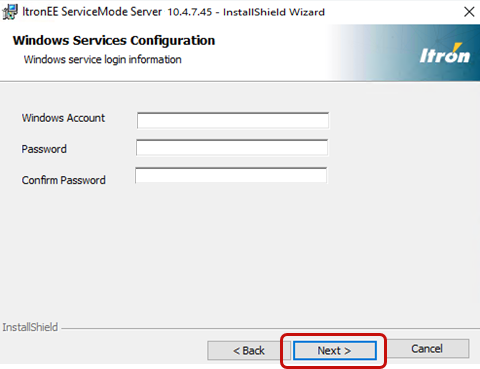
In the Windows Services Configuration dialog that appears, complete the following fields:
-
Windows Account. Enter the Windows account details.
-
Password. Enter the password.
-
Confirm Password. Re-enter the password.
-
Click Next.
-
-
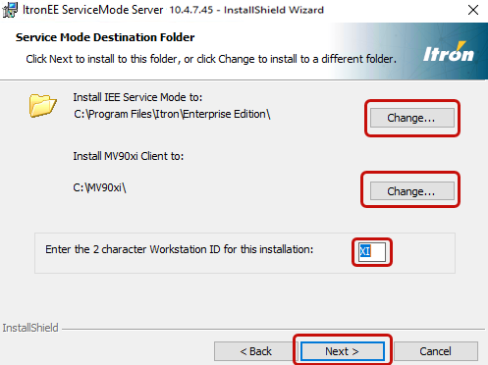
In the dialog that appears, complete the following fields:
-
(Optional) Click Change if you want to change the location of the installation path.
-
Enter the Workstation ID.
-
Click Next.
-
-
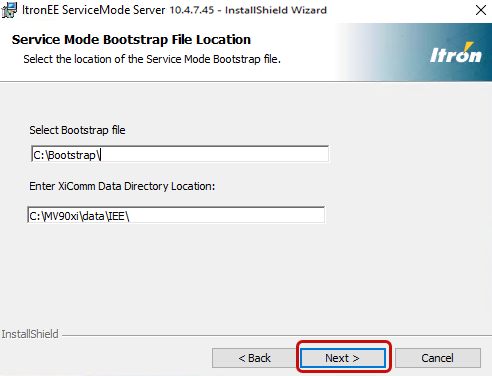
Enter the location for the Bootstrap file and XiComm Data Directory, and then click Next.
-
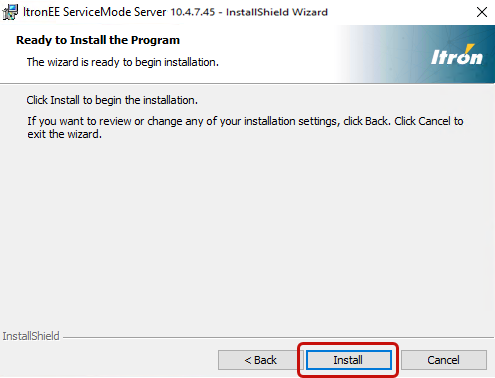
Click Install.
-
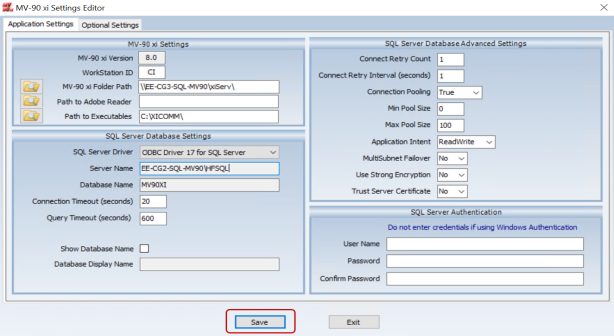
In the MV-90 xi Settings Editor dialog, complete the following fields:
-
Workstation ID (ForEg:CI). Enter the workstation ID (Configured in System Parameters). For more information, see Configuring Service Mode parameters, in the Service Mode Administration Guide.
-
MV90 xi Folder Path. Enter the SM servers XISERV path. (C:\xiSERV\)
-
SQL Server Driver. Select ODBC Driver 17 for SQL Server.
-
Server Name. Enter the SQL database server name. (DatabaseServerName\InstanceName). If the database does not have a named instance, then use the database server name).
-
Username. Enter sa for the username.
-
Password. Enter the sa password.
-
Confirm Password. Re-enter the sa password.
-
Click Save.
-
-
Click Finish to close the wizard.