Database server
For the database server, IMS uses PostgreSQL and TimescaleDB. PostgreSQL is an open-source object-relational database. TimescaleDB is a time-series SQL database providing analytics and scalability with automated data management.
Important! Red Hat Enterprise Linux 9.1 is recommended for the database server. The Linux server should have internet access to download PostgreSQL binaries, TimescaleDB binaries, and other dependencies during installation. Use only the PostgreSQL and Linux versions that have been tested for IMS.
Caution: Avoid restarting this server if possible. It supports core services for IMS.
Tools
Install PuTTY and WinSCP on Windows Server to connect to the Linux server before installing PostgreSQL and TimescaleDB:
-
PuTTY v0.78 (download)
-
WinSCP (latest version)
Prerequisites
-
Create the user postgres and add this user to the admin group on the target machine:
sudo useradd postgres
sudo usermod -aG adm postgres
-
Log on as user postgres:
su - postgres
Note: If a password is required, run the command sudo -i and then run su - postgres.
If you need to set the password, switch to the user that was created as part of the VM:
su - <machine-username>
sudo passwd postgres
-
Attach an external directory to /itron (refer to this Microsoft article).
-
On the target machine, create the directory Itron-TimeScaleDB in /tmp.
-
Copy the TimescaleDB installation scripts from the IMS package (in the scripts folder) or link to /tmp/Itron-TimeScaleDB on the target machine. The name of the file is postgresql-install-15.sh.
Note: The PostgreSQL installation scripts should be copied from the IMS package at the customer site (IMS_[Version]\Scripts\PostgreSQL).
Installing PostgreSQL
-
Run the following command to change the directory:
cd /tmp/Itron-TimeScaleDB
-
Install PostgreSQL using following command:
./postgresql-install-15.sh
Configuring PostgreSQL
Execute the following commands to initialize the database to the external mount drive:
- sudo chown postgres:postgres /itron
-
sudo systemctl edit postgresql-15.service
Add following lines of code:
[Service]
Environment=PGDATA=/itron
Note: This will create /etc/systemd/system/postgresql-15.service.d/override.conf/. To verify the presence of the file, navigate to this location.
-
sudo systemctl daemon-reload
-
sudo /usr/pgsql-15/bin/postgresql-15-setup initdb
-
sudo nano /itron/postgresql.conf
Set shared_preload_libraries = 'timescaledb'
and listen_addresses = '*' in /itron/postgresql.conf
Note: Remove # before listen_addresses and shared_preload_libraries.
Save this before proceeding.
-
Add the following lines in /itron/pg_hba.conf:
host postgres postgres 127.0.0.1/32 trust
host all all all md5
Note: Align these lines in /itron/pg_hba.conf.
Save this before proceeding.
-
sudo systemctl enable postgresql-15
-
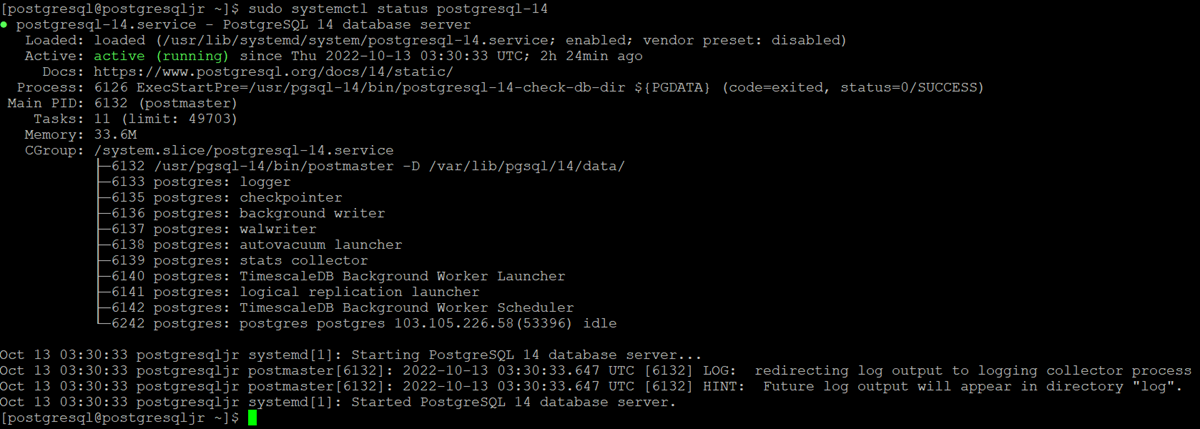
sudo systemctl start postgresql-15
This completes the installation. To confirm, execute sudo systemctl status postgresql-15 and the status should be active (running).
Performance tuning
In the postgresql.conf file, you can change the settings to fine-tune the performance.
Sample configuration 1
Total Memory (RAM): 16 GB
Data Storage: ssd

max_connections = 200
shared_buffers = 4GB
effective_cache_size = 12GB
maintenance_work_mem = 1GB
checkpoint_completion_target = 0.9
wal_buffers = 16MB
default_statistics_target = 100
random_page_cost = 1.1
effective_io_concurrency = 200
work_mem = 10485kB
min_wal_size = 1GB
max_wal_size = 4GB
Sample configuration 2
Total Memory (RAM): 32 GB
Data Storage: ssd

max_connections = 200
shared_buffers = 8GB
effective_cache_size = 24GB
maintenance_work_mem = 2GB
checkpoint_completion_target = 0.9
wal_buffers = 16MB
default_statistics_target = 100
random_page_cost = 1.1
effective_io_concurrency = 200
work_mem = 20971kB
min_wal_size = 1GB
max_wal_size = 4GB
Tip: For a preview of all possible combinations, visit https://pgtune.leopard.in.ua/.
Configuring TimescaleDB
-
Execute following commands to set the firewall rules:
sudo firewall-cmd --zone=public --add-port=5432/tcp --permanent
sudo firewall-cmd --reload
-
Execute the following command:
sudo -u postgres psql
This will take you to the PostgreSQL console.
-
Set the password for PostgreSQL:
\password postgres
-
Enable the TimescaleDB extension:
CREATE EXTENSION IF NOT EXISTS timescaledb;
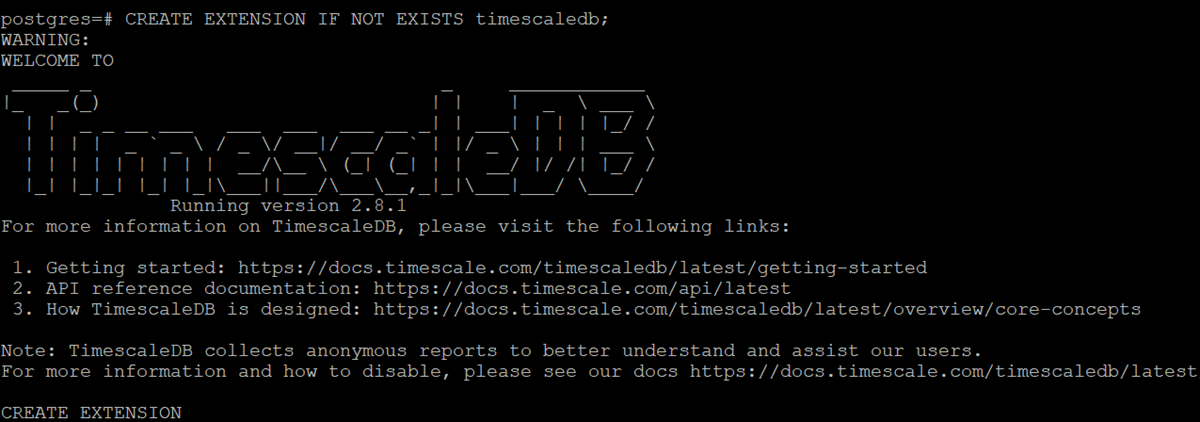
To confirm that the TimescaleDB extension is installed, execute the \dx command.

-
Execute the following command to exit the PostgreSQL console and return to the Linux console:
\q
Installing PgBouncer on RHEL (on-prem)
PgBouncer creates a pool of database connections and provides these connections to clients when required. To install PgBouncer, run the following command:
sudo yum install -y pgbouncer
Configuring PgBouncer
Update following entries in /etc/pgbouncer/pgbouncer.ini:
-
Add entries for the postgress, ims, and readings databases (in the [databases] sections):
-
postgres = host=127.0.0.1 port=5432 dbname=postgres user=postgres password=<postgres-dbuser-password>
-
ims_<EnvironmentName> = host=127.0.0.1 port=5432 dbname=ims_<EnvironmentName> user=postgres password=<postgres-dbuser-password>
-
readings_<EnvironmentName> = host=127.0.0.1 port=5432 dbname=readings_<EnvironmentName> user=postgres password=<postgres-dbuser-password>
Note: The database will be Postfix with EnvironmentName for on-premises systems (dev, test, prod, etc.), for example, ims_dev, readings_dev for the dev environment (same pattern for test and prod). For cloud systems, the database name is ims and the readings database name is customer specific (readings_<TenantShortCode>), for example, readings_itron. The database name should be lower case, as should the Postfix database name (EnvironmentName).
-
-
Set listen_addr to * (for example, listen_addr = *).
-
Set pool_mode to transaction (for example, pool_mode = transaction).
-
Set max_client_conn to 5000 (for example, max_client_conn = 5000).
-
Set default_pool_size to 50 (for example, default_pool_size = 50).
-
Set min_pool_size to 0 (for example, min_pool_size = 0).
Note: Remove the semicolon (;) before the value to enable any configuration.
-
Create a file named userlist.txt in /etc/pgbouncer using the following command:
sudo nano /etc/pgbouncer/userlist.txt
- Add the username and password of the postgress database in quotes (for example, "postgres" "<required-password>").
-
Stop the PgBouncer service:
sudo systemctl stop pgbouncer.service
-
Start the PgBouncer service:
sudo systemctl start pgbouncer.service
- In the pgbouncer.ini file, set the default port as 6432 (for example, port = 6432). Clients can now user this port for PgBouncer.
-
Execute following commands to set the firewall rules for the PgBouncer port:
-
sudo firewall-cmd --zone=public --add-port=6432/tcp --permanent
-
sudo firewall-cmd --reload
-
-
Execute the following command to ensure auto-start if the VM reboots:
sudo systemctl enable pgbouncer.service
Troubleshooting
Refer to PostgreSQL troubleshooting.