Creating a digital signature certificate
Use the following procedure to create a digital signature certificate using ClickOnce:
-
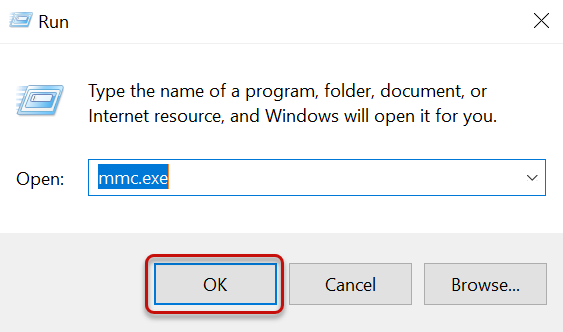
Go to Start > Windows System > Run.
The Run dialog appears.
-
In the Open box, enter mmc.exe, and then click OK.
The Console dialog appears.
-
From the File dropdown menu, select Add/Remove Snap-in...
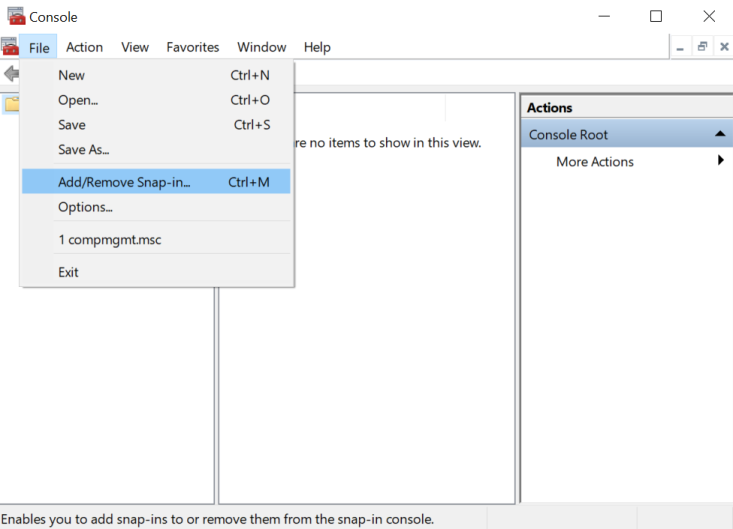
The Add or Remove Snap-ins dialog appears.
-
In the Available snap-ins columns, select Certificates, click Add, and then click OK.
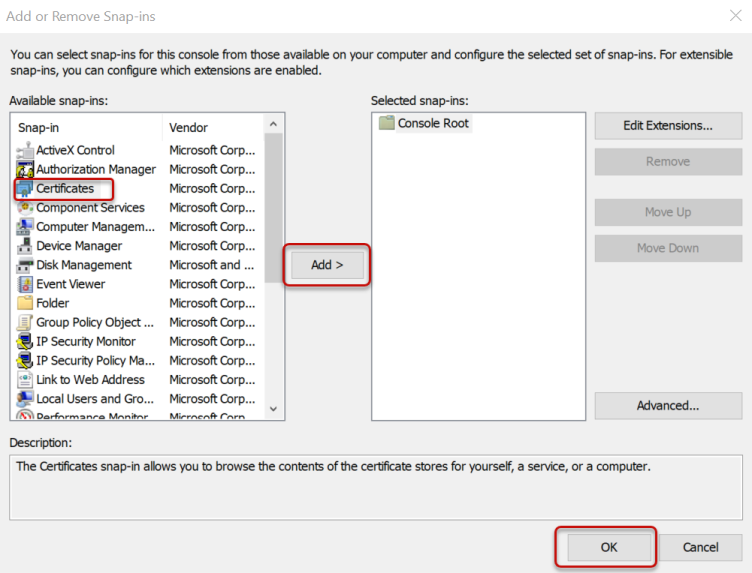
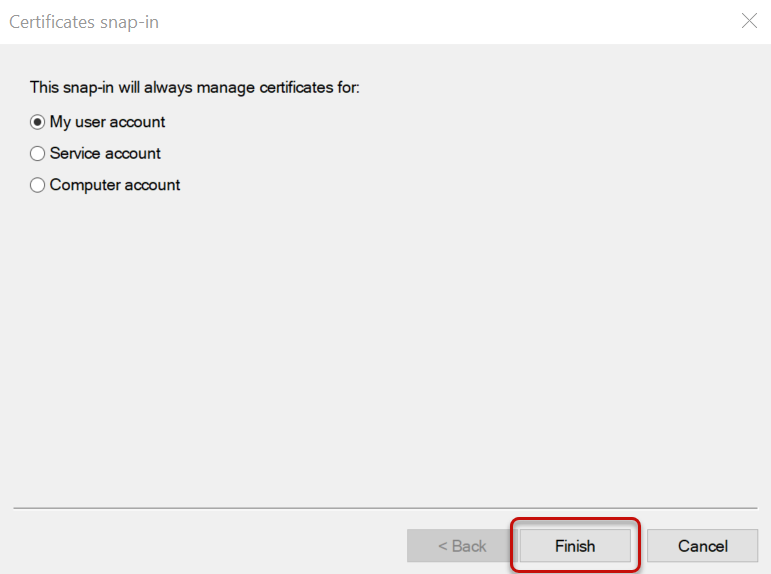
The Certificates snap-in dialog appears.
-
Select My user account, and then select Finish.
-
Click OK to close the Add or Remove Snap-ins dialog.
-
Expand the Certificates folder, right-click on the Personal folder, select All Tasks > Request New Certificate.
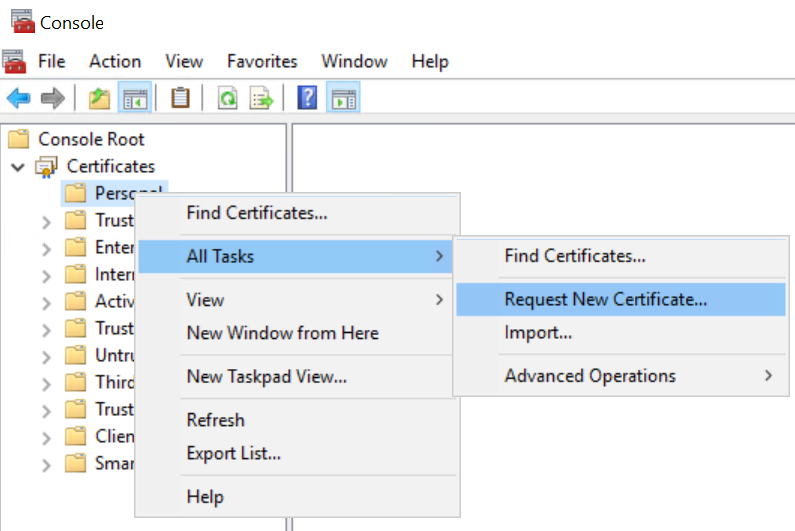
The Certificate Enrollment dialog appears.
- Click Next. The Certificate Enrollment dialog appears.
-
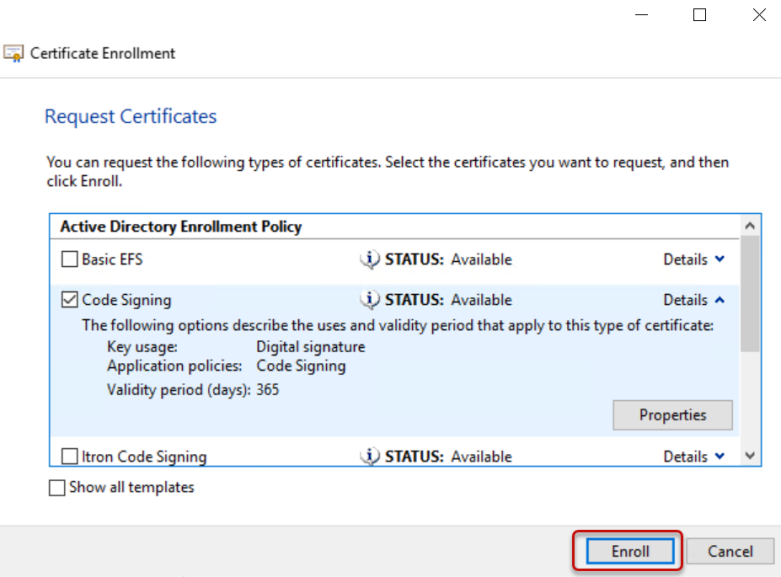
Select the Code Signing checkbox, expand Details, and then click Properties.
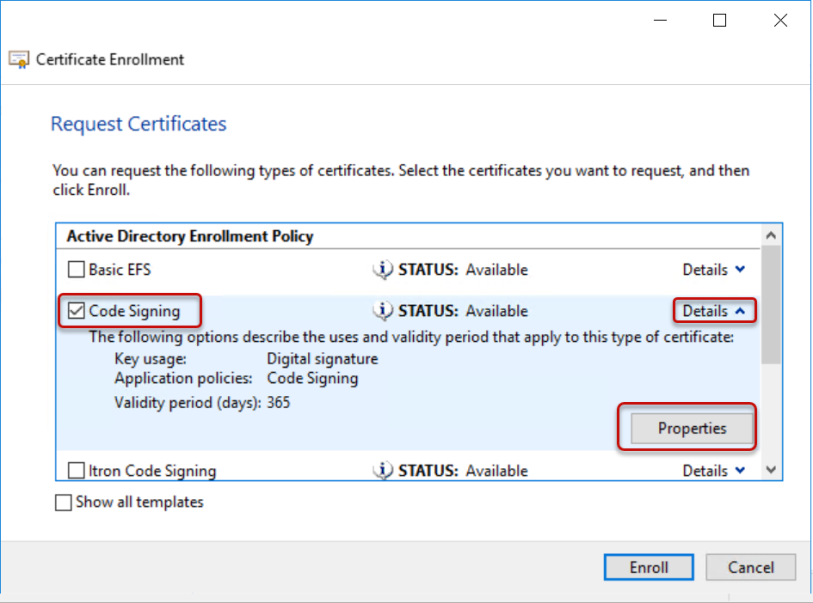
The Certificate Properties dialog appears.
-
Complete the following tabs:
-
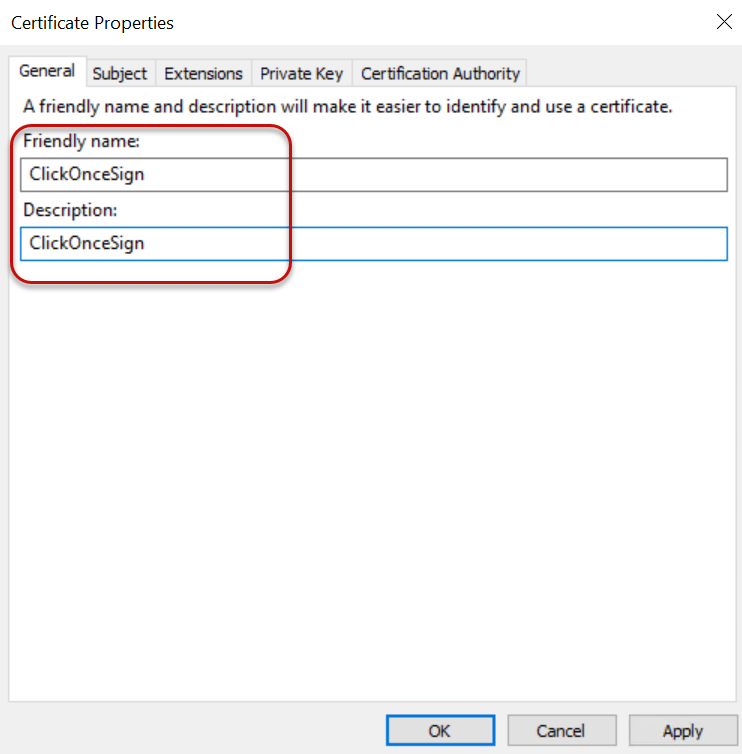
On the General tab, enter a Friendly name and Description in the appropriates boxes.
-
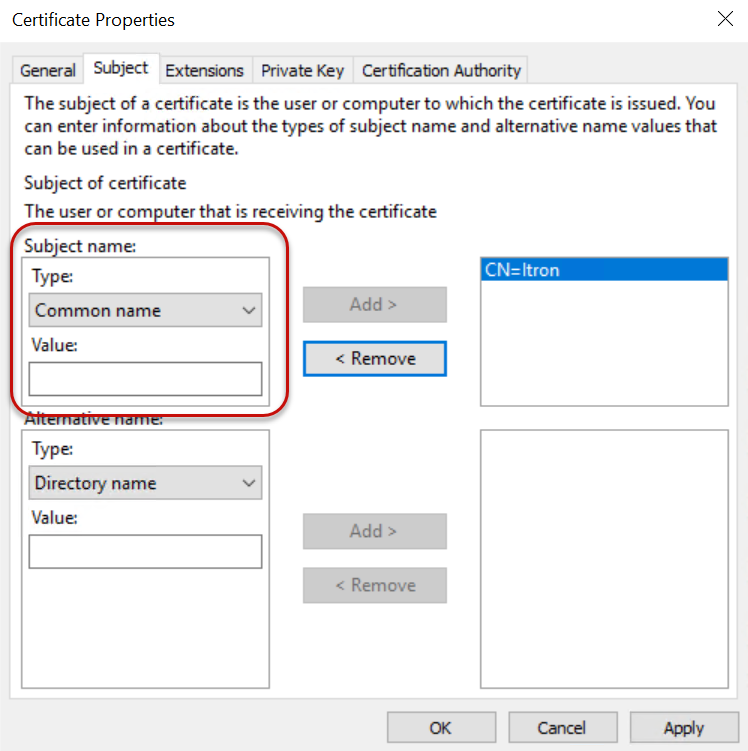
On the Subject tab, select Common name from the Type dropdown menu.
-
In the Value box, enter a value, and then click Add.
-
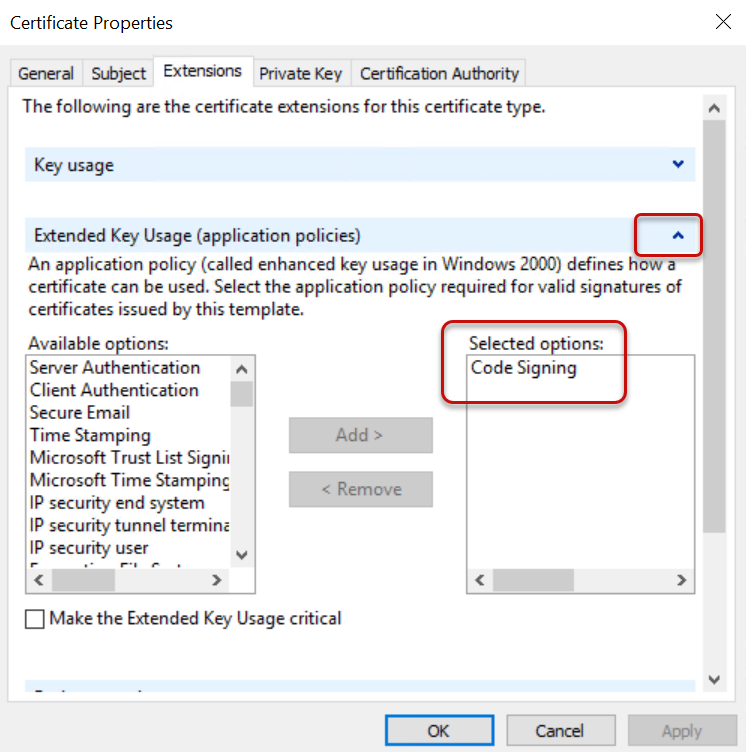
On the Extensions tab, expand Extended Key Usage (application policies), and verify that Code Signing is in the Selected options box.
Note: If Code Signing is not in the Selected options box, select it from the Available options, and then click Add to add it to the Selected options.
-
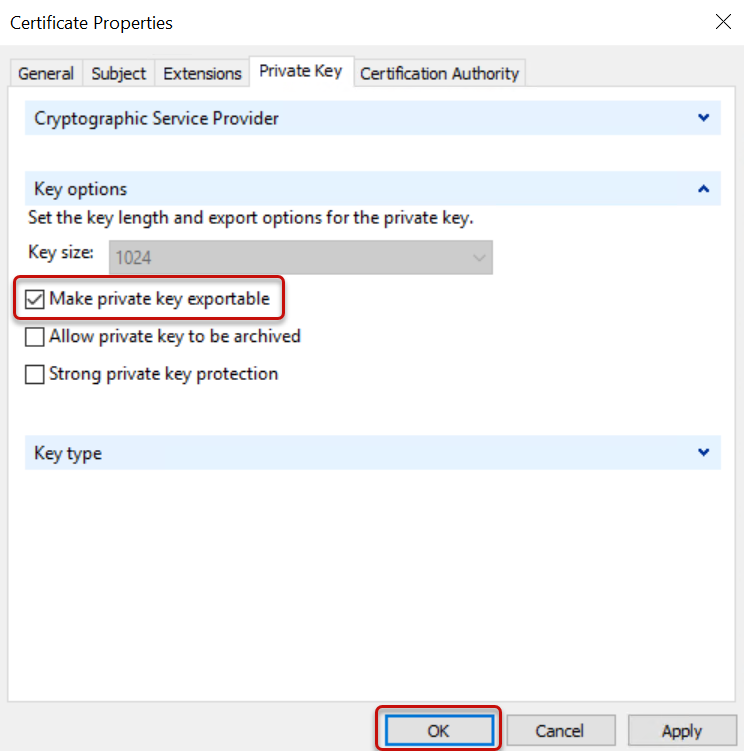
On the Private Key tab, extend Key options, and select Make private key exportable.
-
Click OK to close the Certificate Properties dialog.
-
-
Click Enroll to enroll the certificate.
-
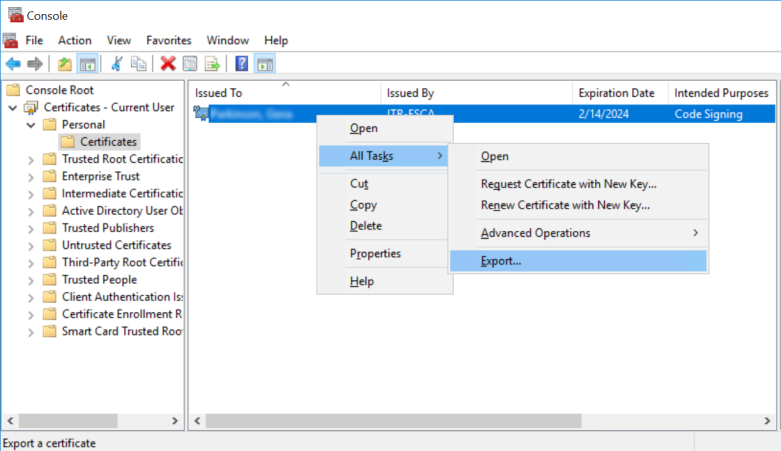
In the Console dialog, right-click on the certificate (that you just enrolled) and select All Tasks > Export.
-
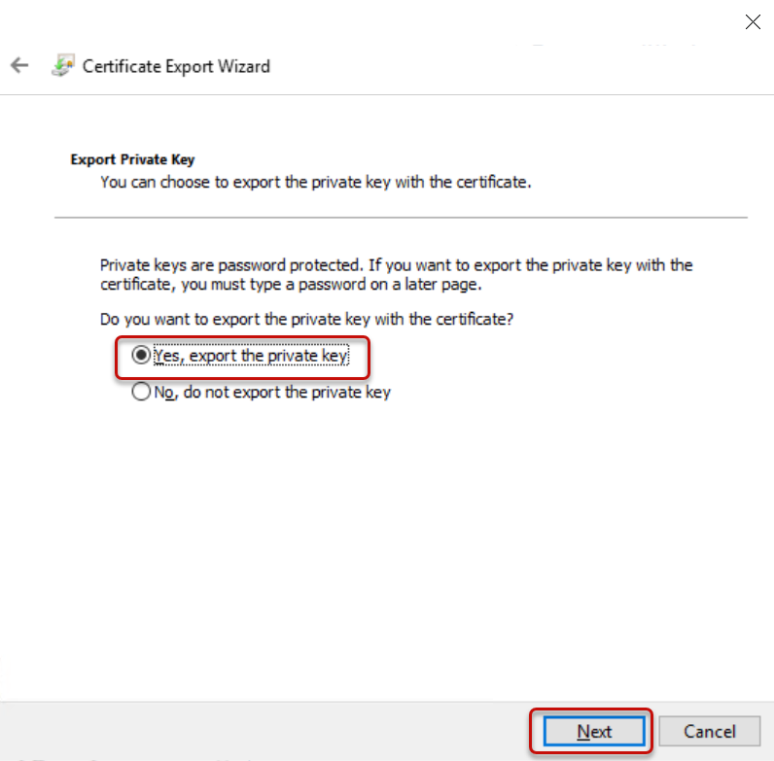
In the Certificate Export Wizard dialog that appears, select Yes, export the private key, and then click Next.
-
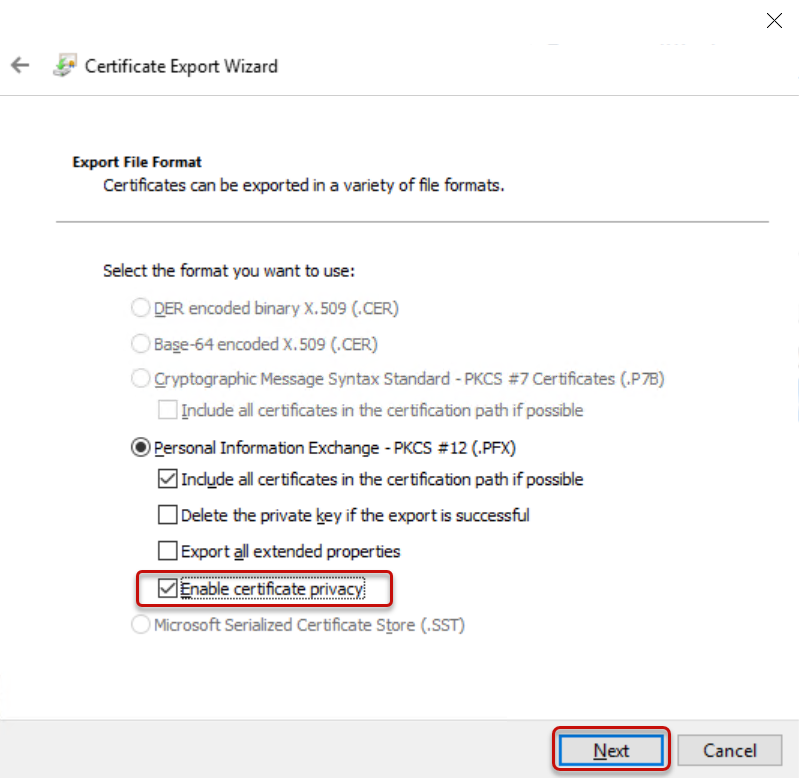
Select Enable certificate privacy, and then click Next.
Note: The Include all certificates in the certification path if possible checkbox should already be selected. If it is not already selected, select it before clicking Next.
-
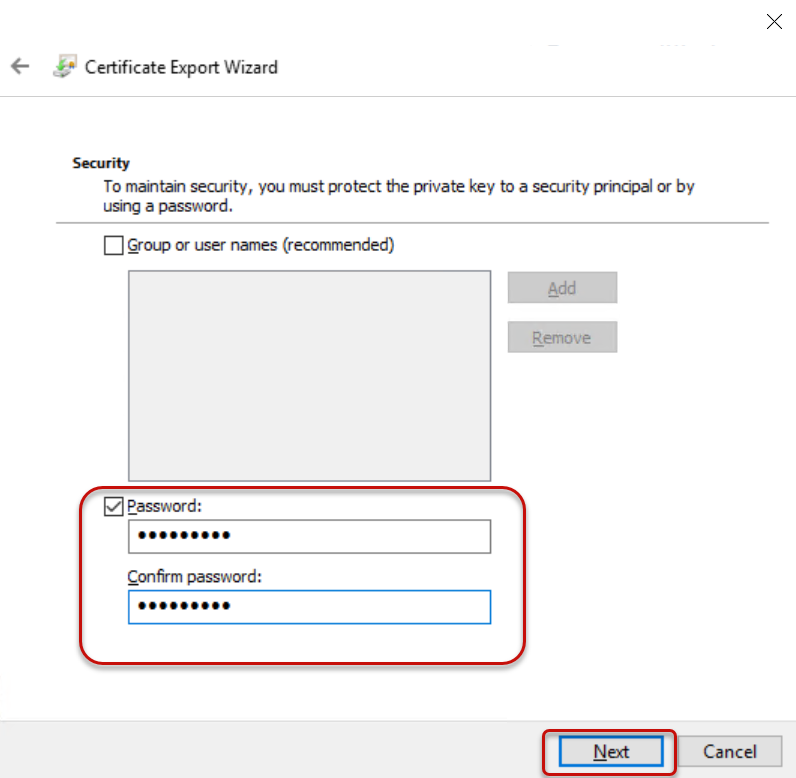
Select the Password checkbox, enter and confirm your password, and then click Next.
-
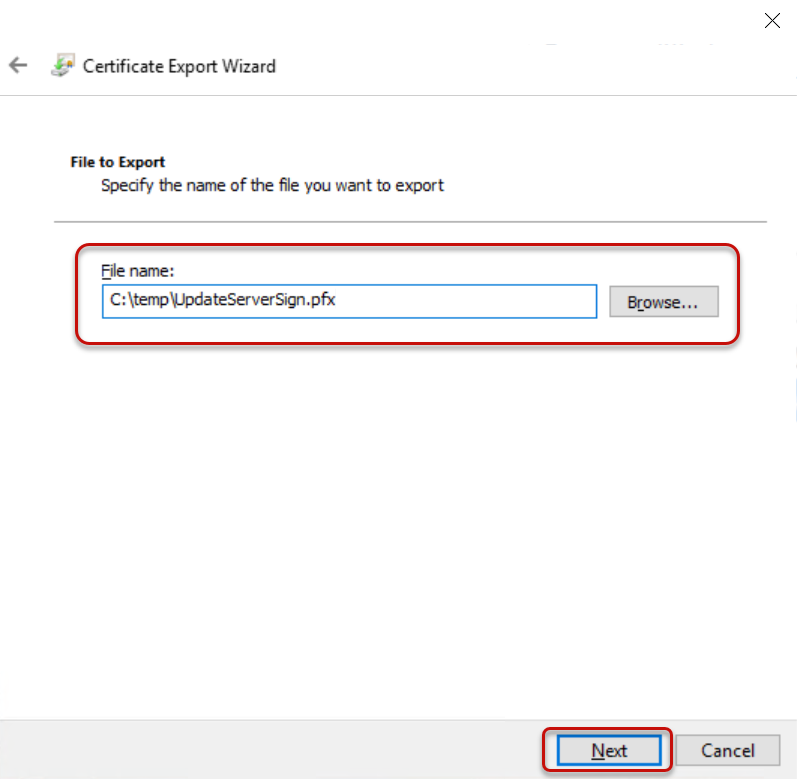
Click Browse to select the file name location, and then click Next.
-
Click Finish, and then click OK to close the wizard.
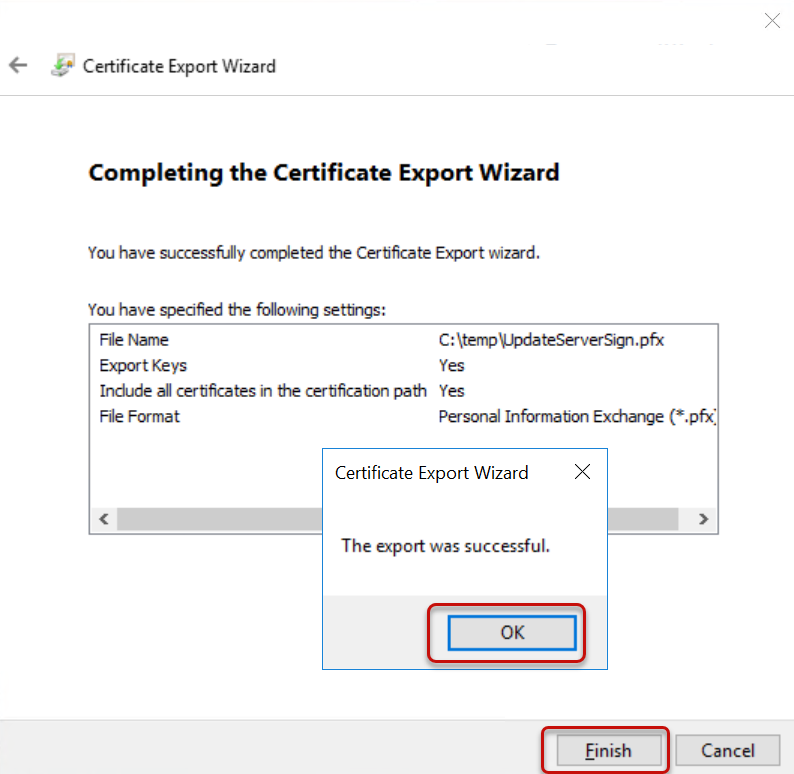
The digital signature certificate has been created.