Installing the IEE Core Service Pack installer
Important! IEE Core must be installed before performing this procedure.
Use the following procedure to download and extract the Service Pack installation package:
-
From the Service Pack folder, select the IEE 10.3.2 Cumulative Service Pack installation package, right-click and select Download.
-
Double-click IEE_10.3.2.exe to open the file. This will start the extraction process for the contents of the installer. This may take several minutes.
-
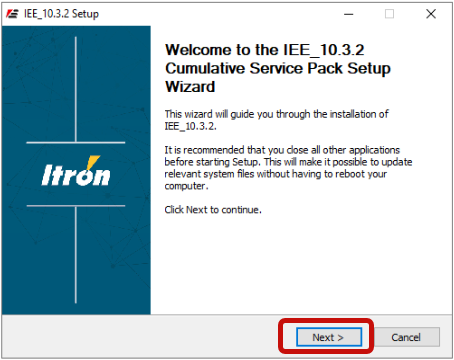
When the extraction process has completed, the IEE 10.3.2 Setup Wizard will appear. Click Next.
-
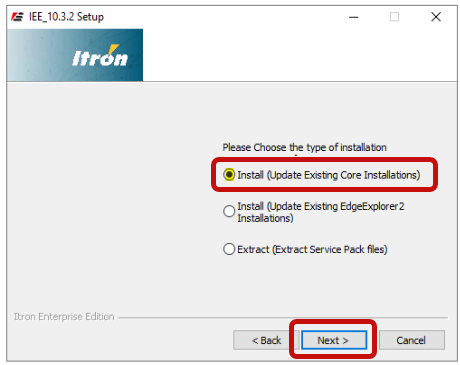
Select Install (Update Existing Core Installations) and click Next.
Important! IEE Core must be installed before selecting the Install (Update Existing Core Installations) option.
-
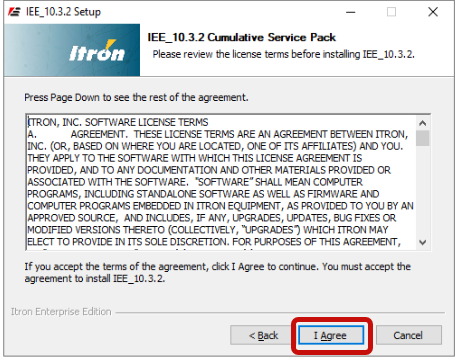
Select I Agree to accept the license agreement.
-
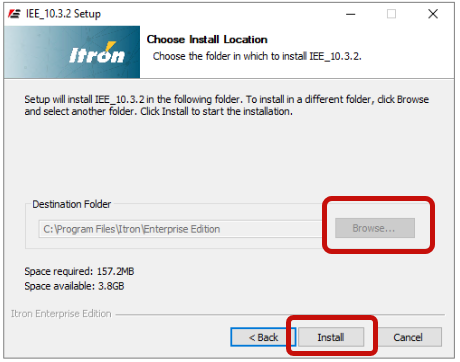
Click Browse to select the install location, and then click Install.
-
A status bar displays the installation progress. When the installation has completed, the Run DB Script Manually dialog will appear. Click OK, and then click Close.

Note: You may need to restart the IIS service for the changes to take effect.
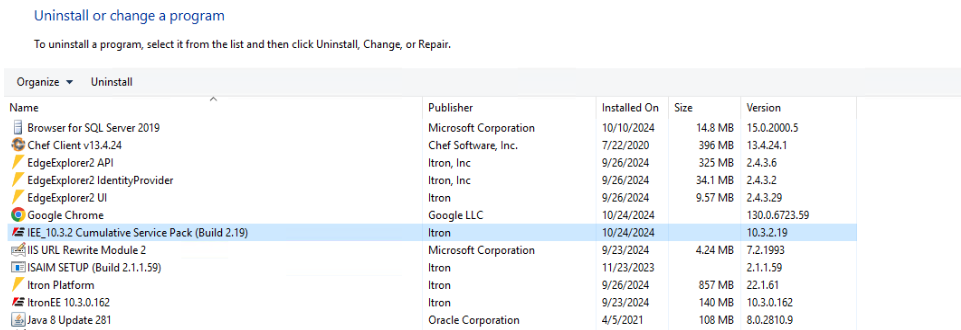
Tip: You can access the Service Pack installer under Program and Features on your device.