Alternate method using XCA certificate and key management
As an alternative method of creating self-signed certificates, you can use the XCA Certificate and Key Management tool to create self-signed certificates for the IEE application server and the Service Mode server.
Go to https://sourceforge.net/projects/xca to download the XCA Certificate and Key Management application. With this tool installed, you can create and maintain a personal or centralized department database for various systems.
Creating certificates for the IEE and Service Mode servers
Important! Perform the following procedure for each IEE application server and Service Mode server.
-
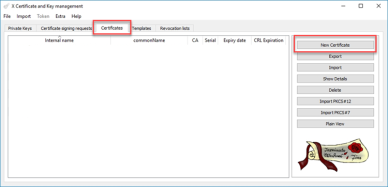
Open the XCA Certificate and Key Management application. Select the Certificates tab and click New Certificate.
-
Select the Subject tab and enter an Internal name and a commonName. These names should match. In the following example,
ITRON-DEMO_IEE_APServeris used in both fields. Click Generate a new key.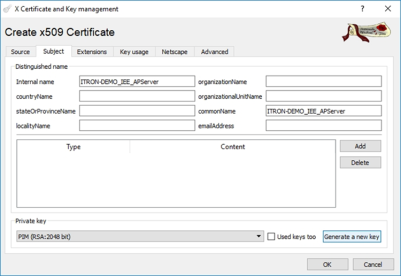
-
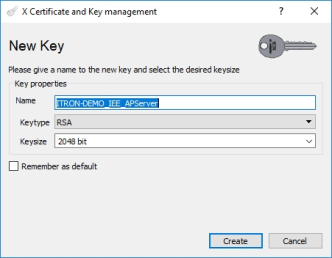
The New Key dialog shows the name you entered in the previous step. Keep the default Keytype and Keysize values and click Create.
-
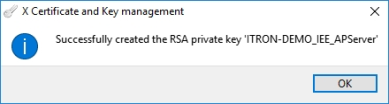
A confirmation message appears. Click OK.
-
Select the Extensions tab. Under Time range, specify the length of time that the certificate will be valid. For example, for the certificate to expire exactly fifteen years from today at the end of that day, enter
15in the box, select Years from the dropdown menu, and select the Midnight checkbox. Click Apply.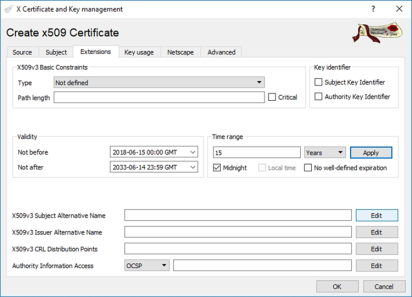
-
At the X509v3 Subject Alternative Name line, click Edit.
-
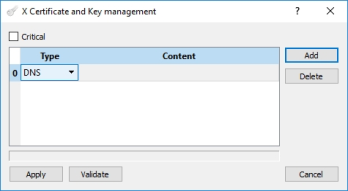
Click Add and select DNS from the Type dropdown menu.
-
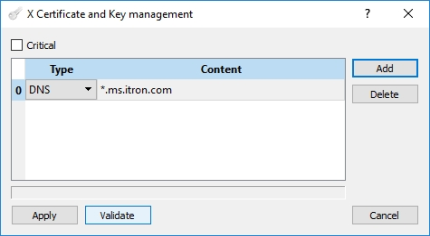
Under Content, enter the application server Name as a fully qualified domain name (FQDN), or use a domain wildcard, as in the following example, if all applications servers reside in the same domain. For multiple server DNS names, click Add to create new lines as needed. Click Validate.
-
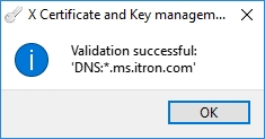
A confirmation message appears. Click OK.
-
Click Apply.

-
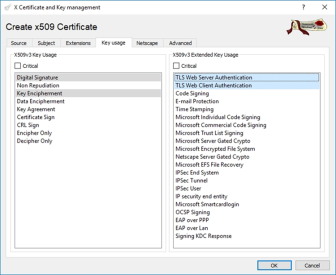
Select the Key usage tab and make the following selections:
Select X509v3 Key Usage
-
Digital Signature
-
Key Encipherment
Select X509v3 Extended Key Usage
-
TLS Web Server Authentication
-
TLS Web Client Authentication
-
-
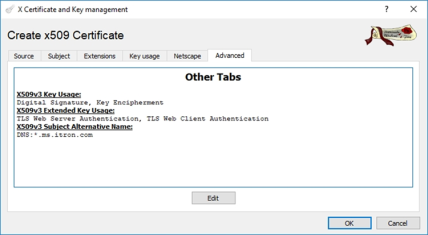
Select the Advanced tab. Review the summary and click OK if correct.
-
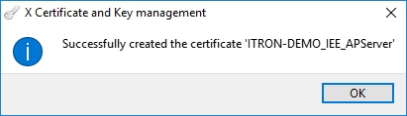
A confirmation message appears. Click OK.
-
Repeat these steps for the Service Mode server. For identification purposes, be sure to indicate Service Mode in the Internal name and commonName (for example,
SM_SS_Server).
Exporting certificates and key files
To transfer the certificate and key information onto the IEE application server and Service Mode server, you must export the .p12 and .cer files.
Important! Perform the following procedure for each IEE application server and Service Mode server.
-
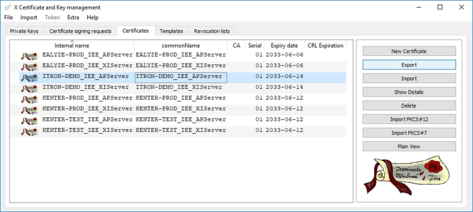
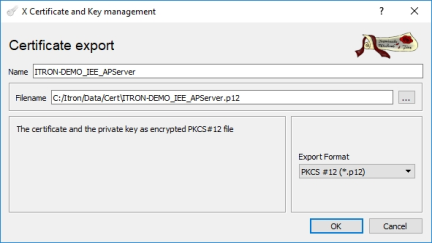
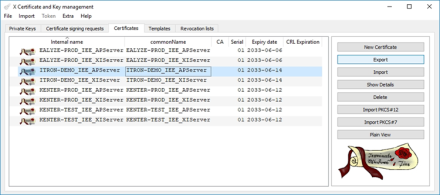
Open the XCA Certificate and Key Management application. Select the Certificates tab, select a certificate created in the previous procedure, and click Export.
-
From the Export Format dropdown menu, select PKCS #12 (*.p12) and click OK.
-
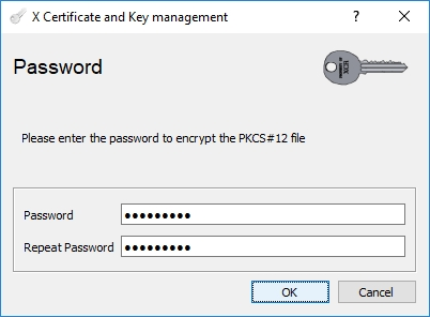
Enter a password for secure key transfer and click OK.
-
On the Certificates tab, select the same certificate that you selected in step 1 and click Export.
-
From the Export Format dropdown menu, select DER (*.cer). Note the path shown in the Filename field and click OK.

-
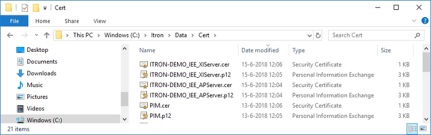
Using the path shown above, navigate to the Filename location to view the certificate and keyfiles. Copy the .cer files and the .p12 files to your IEE environment.
-
Repeat these steps for the Service Mode server certificate.
Importing certificates and key files
On the IEE application server, the app server keyfile (.p12 file) must be imported to the Personal store and the Trusted Root Certification Authority store.
Note: This procedure applies to the IEE application server only.
-
From the Windows Start menu, run
MMCto open IIS Certificate Management. Select File > Add/Remove Snap-in.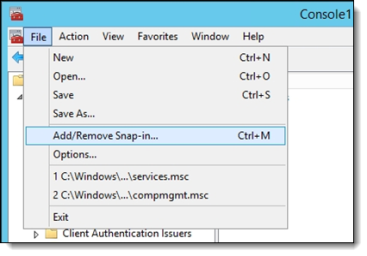
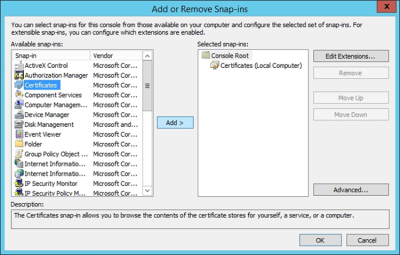
-
Under Available snap-ins, select Certificates and click Add.
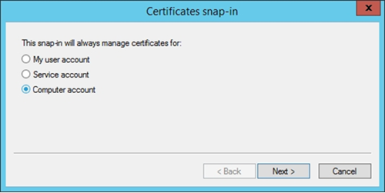
-
A dialog appears. Select Computer account and click Next.
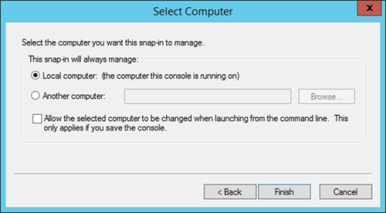
-
Click Finish.
-
Under the Personal store, right-click Certificates and select All Tasks > Import.
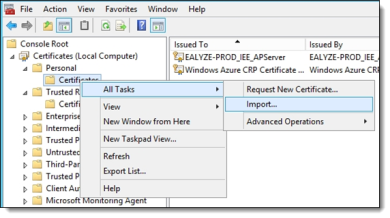
-
The Certificate Import Wizard appears. Follow the prompts to import the .p12 file that was exported in Exporting certificates and key files. This should be the key for the IEE application server certificate only.