Managing dashboard cards
Your cards, card configurations, and dashboard layout persists until you change them. The settings remain intact after you sign out and are available on your dashboard when you sign in again.
You can customize and refine your dashboard cards in the following ways:
-
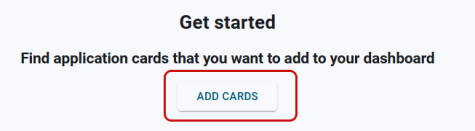
To add a card to the dashboard, click the Add Cards button on the dashboard.
Or
Select Actions menu (
 ) in the page header and then select Add.
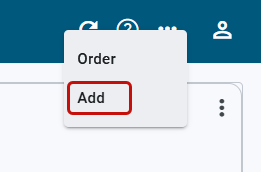
Note: By default, a newly added card appears in the form of a small-sized card. For more information, see Small validation card.
In the Add cards dialog that appears, select the wanted card, and then click Add. In this example, the user has Validation Queue and View Task Template permissions.
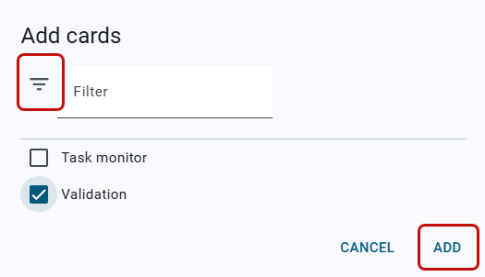
Tip: To quickly locate a card option in a long list of options, click Filter (
 ) on the Add cards dialog, enter all or part of a card name, and then press Enter. The results appear in the list. To clear the results, click the X in the filter box.
 -
To configure groups on a card, select Actions menu (
 ) on the card and then select Configure.
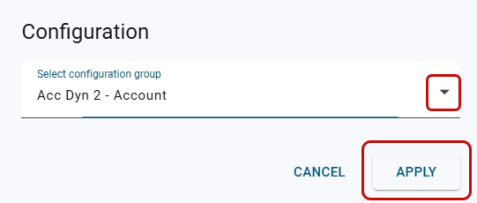
In the Configuration dialog that appears, select a configuration group from the dropdown menu and click Apply.
-
To resize a card, select Actions menu (
) on the card and then select Small, Medium, or Large. The card resizes automatically.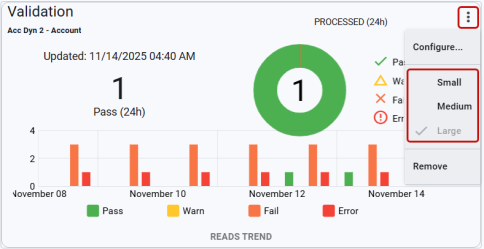
-
To remove a card from the dashboard, select Actions menu (
) on the card and then select Remove. Confirm this action by clicking Remove in the dialog that appears.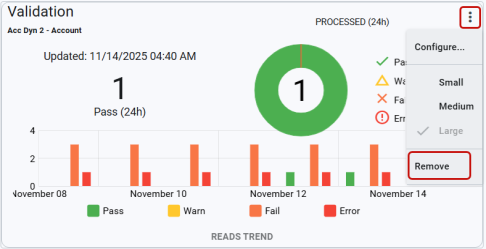
-
To rearrange the cards on the dashboard, select Actions menu (
 ) on the page header and select Order.
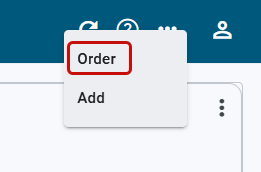
In the Card order dialog that appears, click and drag the order icons (
 ) to indicate the wanted card order, and then select Update.
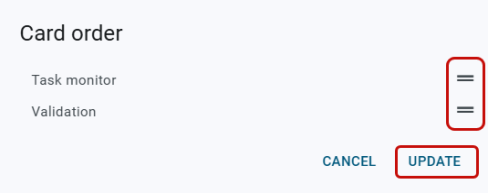
Tip: To refresh the current dashboard view to reflect the most recent data, click Refresh (![]() ) in the page header.
) in the page header.
Related topics: