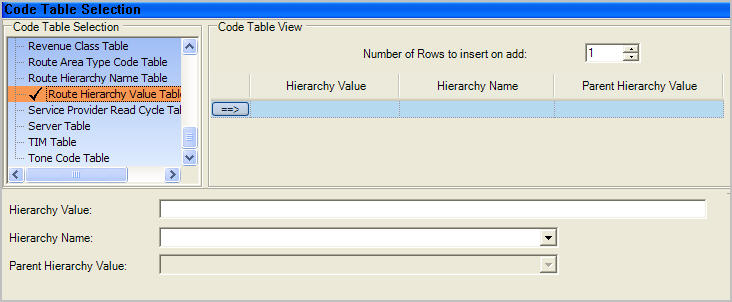
Route hierarchy values
The route hierarchy values code table defines values for the route hierarchy level values. Multiple values of each level are allowed. For example, multiple instances of Level 1 might include California, Oregon, and Washington while multiple instances of Level 2 might include North Bay, Central Valley, and LA County.
Important! You must complete the Route Hierarchy Name table before editing the Route Hierarchy Value table. Update this code table by Hierarchical level, working from the top down.
Configuring the Route Hierarchy Value Code Table
-
Go to System Administration > System Admin > Code Table Setup.
-
From the Code Table Selection List, select Route Hierarchy Value Table.
-
Click the Hierarchy Name column header to alphabetize the table by level.
-
Use the Number of rows to insert on add dropdown menu to select the number of blank rows to add to the code table.
-
From the Code Table Setup menu, click Add. The new rows display in the table.
-
Click
 to select each blank row added and configure the following parameters:
-
Hierarchy Value
-
Hierarchy Name. Enter the Name for the value. For example, enter Division.
-
Parent Hierarchy Value
Note: If you are assigning a value to the top level in the hierarchy, for example, State, there is no Parent Hierarchy Value and this dropdown list is unavailable.

-
-
Click Save.
-
Repeat until all of the Route Hierarchy level names are assigned values and parents, saving after each.
Note: After updating any code table, you must restart the IIS service for the changes to take effect.