Creating a data export
-
On the Readings Data Export table, click Create.
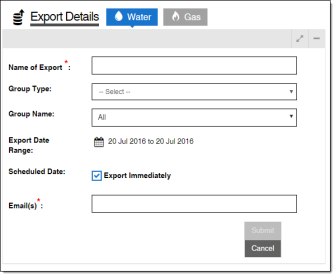
The Export Details opens.
-
If your Itron Analytics deployment has more than one commodity, use the Commodity Selection tool to select a commodity for the export.
-
In the Name of Export field, type a name for the export that is less than 150 characters.
-
(Optional) From the Group Type menu, select a group type. A selection in this menu refines options in the Group Name menu. The values displayed are the Group Type Display Names Group types are managed in the Group Maintenance tool and in the Admin Portal. For more information, see Group Maintenance or "Group Types" in the Itron Analytics Admin Portal Online Help.
Note: Only group types for the selected commodity or with no commodity are available.
-
(Optional) From the Group Name menu, select a group. The export will only contain data from service points in this group. Groups are managed in the Group Maintenance tool. For more information, see Group Maintenance. The default selection is to export data for all service points.
Note: Only groups for the selected commodity are available.
-
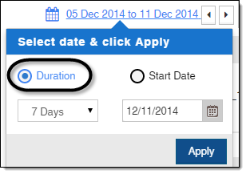
(Optional) For Export Date Range, click the Date Select tool to select a date range less than 367 days. The default selection is to export today's data.
-
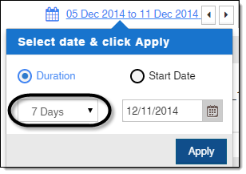
Select Duration for a set range of days.
-
Select a duration length from the drop-down menu.
Note: If the Custom duration length is selected, you will be able to specify a quantity and either days, months, or years.
-
Click the Calendar (
 ) button to select the end date for the range.
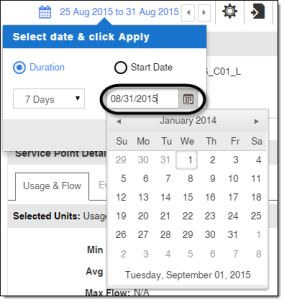
Note: You can click the heading of the calendar to scale backwards, from viewing a month, to viewing a year, to viewing a small range of years, to viewing a large range of years.
-
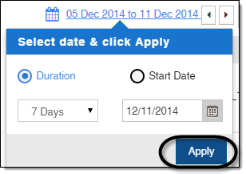
Click Apply.
or
-
-
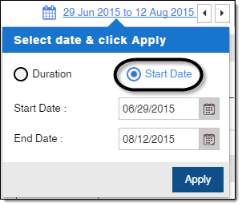
Select Start Date for a specified range of days.
-
Click the Start Date Calendar (
) button to select the start date for the duration.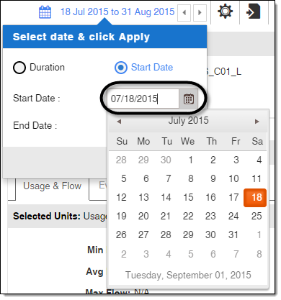
Note: You can click the heading of the calendar to scale backwards, from viewing a month, to viewing a year, to viewing a small range of years, to viewing a large range of years.
-
Click the End Date Calendar (
) button to select the end date for the duration.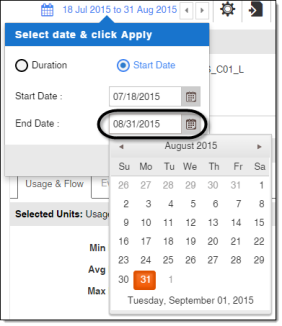
Note: You can click the heading of the calendar to scale backwards, from viewing a month, to viewing a year, to viewing a small range of years, to viewing a large range of years.
-
Click Apply.
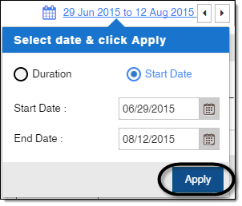
Note: To close the Date Select tool without applying changes, click anywhere outside the Date Select tool.
-
-
-
(Optional) For Scheduled Date, clear the check box to select a date and time in the future that the export will run on. The scheduled date must be after the end date of the export date range. The default selection is to export immediately, unless the end date of the export is in the future.
-
Click the Export Calendar (
) button to select the date the export will start running.
Note: You can click the heading of the calendar to scale backwards, from viewing a month, to viewing a year, to viewing a small range of years, to viewing a large range of years.
-
Click the Export Time Clock (
 ) button to select the time the export will start running.
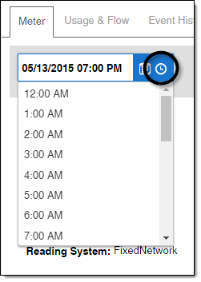
-
Click anywhere outside of the Export Calendar and Export Time Clock.
-
-
In the Email(s) field, type the email addresses that will receive the export, separated by ','. This field supports a maximum of 1000 characters.
Recipients receive an email when the readings data export completes. The email contains the name of the export as well as the readings data export file name.
-
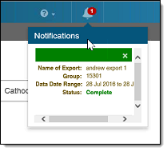
Click Submit.
You will receive a notification indicating that the export is available once it has completed running.