Resize the Amazon Elastic Block Store (EBS) volume of your Cloud9 environment
-
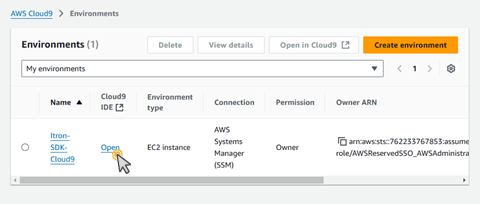
If your new AWS Cloud9 IDE is not already open, click Open.
-
To declutter your window, close the Welcome tab.
-
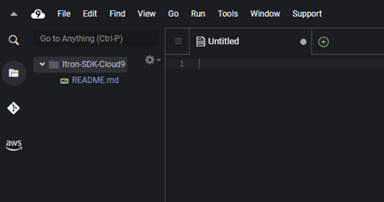
In your pane, click + > New File.
A new tab is created called Untitled.
-
Copy the following code:
#!/bin/bash

# Specify the desired volume size in GiB as a command line argument. If not specified, default to 20 GiB.
SIZE=${1:-20}

# Get the ID of the environment host Amazon EC2 instance.
TOKEN=$(curl -s -X PUT "http://169.254.169.254/latest/api/token" -H "X-aws-ec2-metadata-token-ttl-seconds: 60")
INSTANCEID=$(curl -s -H "X-aws-ec2-metadata-token: $TOKEN" -v http://169.254.169.254/latest/meta-data/instance-id 2> /dev/null)
REGION=$(curl -s -H "X-aws-ec2-metadata-token: $TOKEN" -v http://169.254.169.254/latest/meta-data/placement/region 2> /dev/null)

# Get the ID of the Amazon EBS volume associated with the instance.
VOLUMEID=$(aws ec2 describe-instances \
  --instance-id $INSTANCEID \
  --query "Reservations[0].Instances[0].BlockDeviceMappings[0].Ebs.VolumeId" \
  --output text \
  --region $REGION)

# Resize the EBS volume.
aws ec2 modify-volume --volume-id $VOLUMEID --size $SIZE

# Wait for the resize to finish.
while [ \
  "$(aws ec2 describe-volumes-modifications \
    --volume-id $VOLUMEID \
    --filters Name=modification-state,Values="optimizing","completed" \
    --query "length(VolumesModifications)"\
    --output text)" != "1" ]; do
sleep 1
done

# Check if we're on an NVMe filesystem
if [[ -e "/dev/xvda" && $(readlink -f /dev/xvda) = "/dev/xvda" ]]
then
# Rewrite the partition table so that the partition takes up all the space that it can.
  sudo growpart /dev/xvda 1
# Expand the size of the file system.
# Check if we're on AL2 or AL2023
  STR=$(cat /etc/os-release)
  SUBAL2="VERSION_ID=\"2\""
  SUBAL2023="VERSION_ID=\"2023\""
  if [[ "$STR" == *"$SUBAL2"* || "$STR" == *"$SUBAL2023"* ]]
  then
    sudo xfs_growfs -d /
  else
    sudo resize2fs /dev/xvda1
  fi

else
# Rewrite the partition table so that the partition takes up all the space that it can.
  sudo growpart /dev/nvme0n1 1

# Expand the size of the file system.
# Check if we're on AL2 or AL2023
  STR=$(cat /etc/os-release)
  SUBAL2="VERSION_ID=\"2\""
  SUBAL2023="VERSION_ID=\"2023\""
  if [[ "$STR" == *"$SUBAL2"* || "$STR" == *"$SUBAL2023"* ]]
  then
    sudo xfs_growfs -d /
  else
    sudo resize2fs /dev/nvme0n1p1
  fi
fi
-
Paste the code into your untitled tab.
-
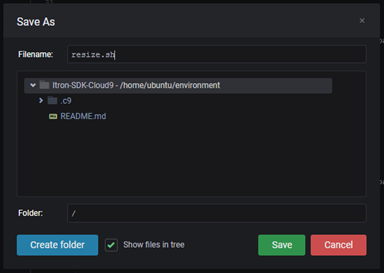
Select File > Save.
The Save As window opens.
-
Use the Filename field to type a name for the file, in the following example the file is named resize.sh.
Note: The filename must use the extension .sh.
-
Click Save.
-
In your pane, click + > New Terminal.
A new terminal opens.
-
Switch to the directory containing resize.sh.
-
Run either one of the following commands:
chmod +x resize.sh./resize.sh 20-
Go to the procedure Request and download SDK files.