Connect the FSU to your computer
The FSU must remain connected to your computer with the provided USB power and data cables while you are logged into the meter.
Important! Stop! If this is the first time you are using the FSU, then don't plug the FSU's cable into the laptop just yet. First use the following procedure to observe the laptop's COM port usage before and after you connect the FSU cables to the laptop.
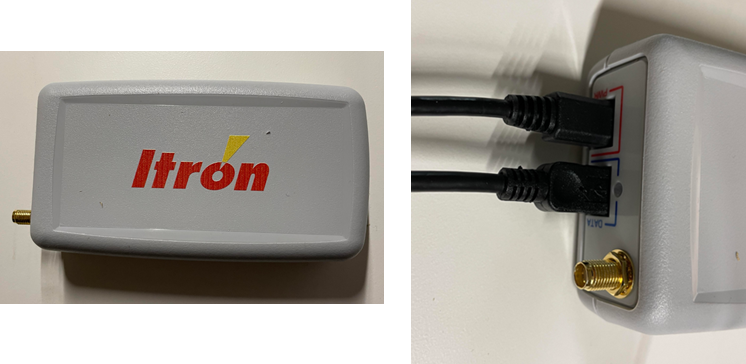
The following images show the the FSU (left) and the FSU with USB power and data ports with cables connected.
Start up Device Manager and observe COM ports
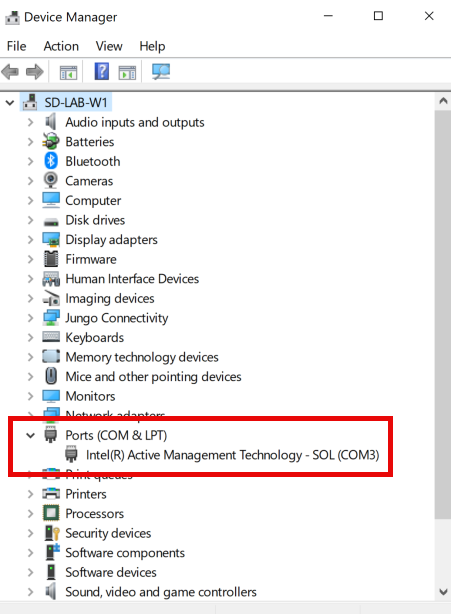
Before connecting the FSU's cable to the laptop, it is important to observe the laptop's existing COM ports. This is because the FSU provides an additional COM port. Observing the Device Manager's list of COM ports while you connect the FSU allows you to recognize which COM port the FSU adds.
-
Launch the Windows Device Manager.
The following image shows the laptop's existing COM port(s).
-
With the USB cables already connected to the FSU, connect the remaining USB HUB cable into the laptop.
-
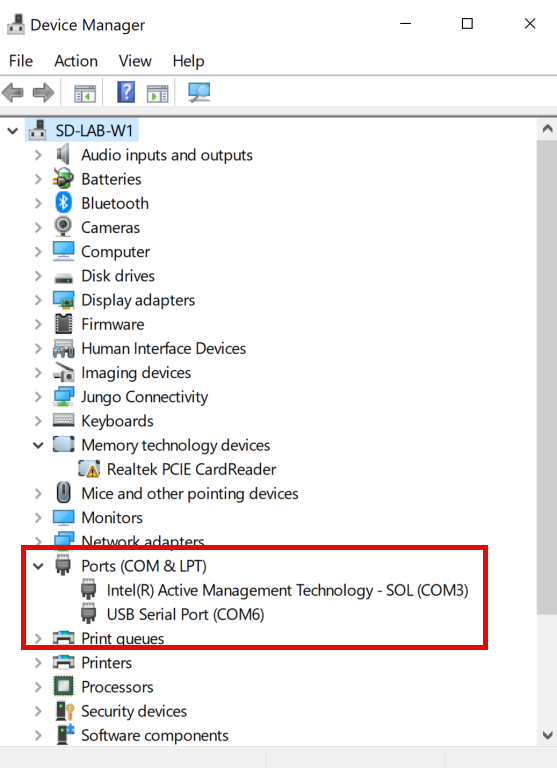
Observe the new FSU COM port appear in the Ports (COM & LPT) list.
The following image shows the added COM port when the FSU is connected.
Note: The FSU COM port added to your laptop may differ from the one shown here (USB Serial Port COM6).