Adding a role
Note: See also Roles and privileges.
To add a new role, you can copy and customize an existing role:
-
Access your user profile by hovering over your user name in the page header and selecting My profile.
-
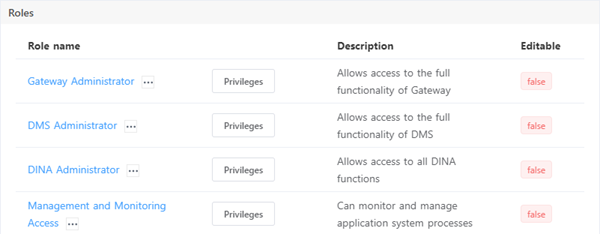
Click Edit (
 ), scroll down to the Roles panel, and locate a role to copy.
Note: For each role listed, you can view a list of privileges available for that role by clicking Privileges.
-
Click the menu icon (
 ) next to a role name and select Copy.
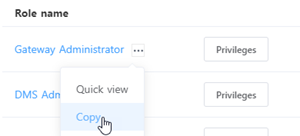
-
Enter a Display name and a Description for the new role.
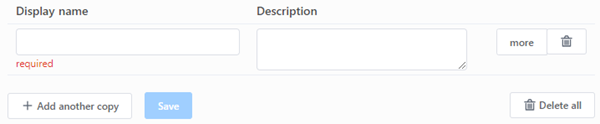
Note: To create an additional copy of the same role, click Add another copy and provide a unique Display name and a Description for the additional copy. To remove a copy, click the delete icon (
 ) on the same row. To remove all copies on all rows, click Delete all.
 -
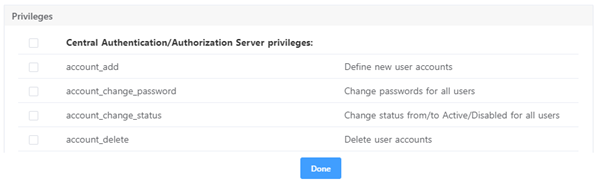
The new role contains all privileges associated with the original role. To customize the privileges, click more on the same row. In the dialog box, scroll down to the Privileges panel and select or deselect roles as needed. Click Done to close the dialog box.
-
Click Save. The Roles screen appears.
-
Confirm that the new role was created. It should be listed on the Roles screen.
Tip: To quickly locate a role in the Roles panel, click Filters, enter all or part of a role name, and click Submit or press Enter. The results appear in the list.